The Guided Configuration Wizard makes use of configuration templates to jump start the configuration process. The standard templates provided by Liquidware include about 85% of the Windows settings a user would need right out of the box. While ProfileUnity comes with several different useful templates, the Template Administration screen allows console administrators to create additional configuration templates or manage the existing templates they have. Configuration Templates can help administrators build configurations for their environment faster than creating each configuration module rule individually, saving valuable time. Instead of creating a new configuration from scratch, the administrator can choose a template as a basis for a new configuration while running the Guided Configuration Wizard. If the template has the majority of the required settings already configured, then the administrator only has to make minimal changes to create a new configuration that is specific to the enterprise environment.
To manage your configuration templates, complete the following steps:
- Hover over your username in the top right corner of the Management Console screen.
- In the drop-down menu that appears, click the Administration option.
- The Administration screen opens with the Settings tab displayed.
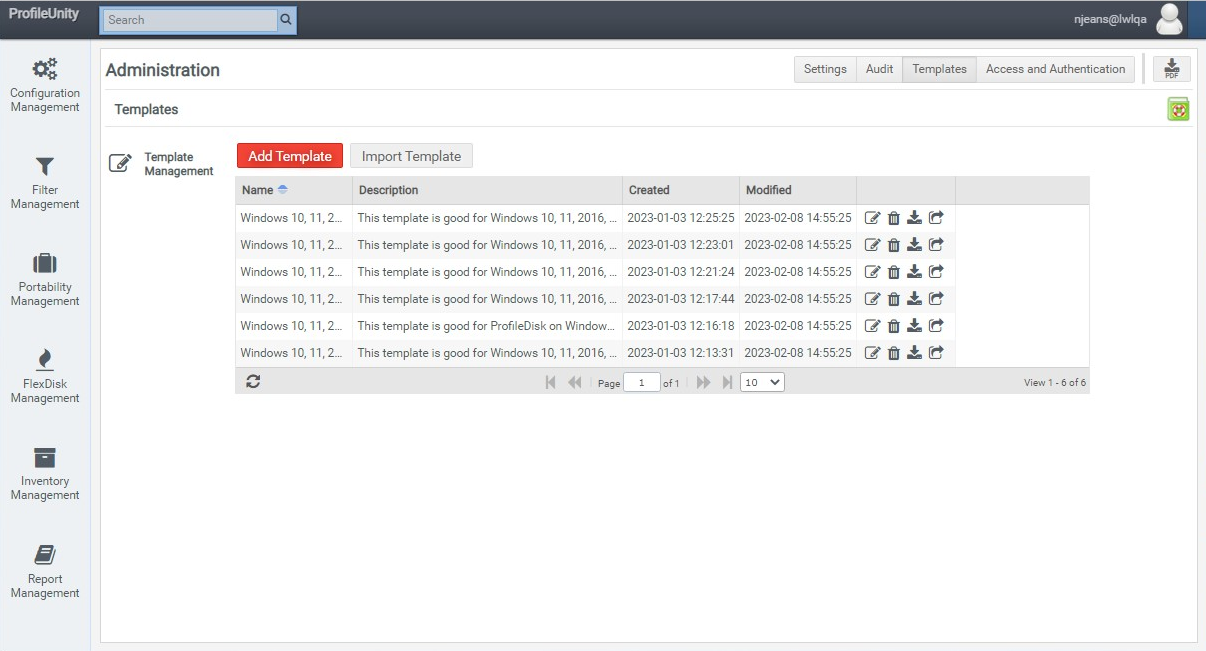
- Click the Templates tab in the top right corner of the screen.
- The Template list that appears contains all of your existing configuration templates including the standard templates that come with ProfileUnity.
Importing Configuration Templates
If you have received a template from a partner or been working on perfecting a template with an outside resource, you can import it into the Management Console so that it is available to you the next time you run the Guided Configuration Wizard to create a new configuration.
To import a configuration template, complete the following steps:
- If it is not already displayed, click the Templates tab on the Administration screen.
- Click the Import Template button.
- Navigate to and select the JavaScript Object Notation (JSON) file that you want to use as a template.
- The configuration template is then added to the list of templates on the Templates tab.
Creating Configuration Templates
Any of the configurations you create on the Configuration Management screen can be saved as templates. These templates can then be reused by the Guided Configuration Wizard. After you have tweaked the settings in your configuration to match your environment, you can add a new template by clicking on Add Template and completing the following information as it applies to your template. Note there are three sections of settings for templates: General, GPO, and Miscellaneous. Click Save to create the new template.

General Settings
Configuration to Use as Template
Displays a list of all your current configurations from the Configuration Management list. Choose one that you would like to base this template off of.
Template Name
Enter the new template name.
Template Description
Enter the description of this template. This is optional but will be useful to the user setting up a new configuration based on this template.
Template Variables
These are variables that are found within the selected Configuration. You must provide a name for each variable. Providing a description will help the user understand what the variable is meant for.
Good Examples
-
#NetworkFolder#
-
#ProfileCleanupFilter#
Bad Examples
-
#NetworkFolder (missing trailing #)
-
NetworkFolder# (missing initial #)
-
#Network Folder# (do not use spaces between #)
Note: Variables are marked in Configurations as #MyVariable#. Syntax must be exact. Use CamelCase for variables if you want ProfileUnity to automatically detect spaces when assigning names.
GPO Settings
Deploy GPO
Check this option to instruct the template wizard to deploy a GPO.
Note: The user creating the configuration must be part of the Active Directory domain.
GPO Name
If Deploy GPO is checked, enter the name of the GPO. ProfileUnity will assign a UUID to the end of the GPO to ensure uniqueness.
Startup Script Order
There are two list of startup scripts - one for GPO Startup scripts and one for Startup scripts executed by PowerShell. PowerShell is frequently used in environments using cloud storage. Choose whether to run the PowerShell scripts first or last.
Startup Scripts
Enter the path to the startup script and add any parameters to pass to the startup script. The order of the scripts can be modified.
Startup PowerShell Scripts
Enter the path to the startup script and add any parameters to pass to the startup script. The order of the scripts can be modified.
Logoff Script Order
There are two list of logoff scripts - one for GPO Logoff scripts and one for Logoff scripts executed by PowerShell. Choose whether to run the PowerShell scripts first or last.
Logoff Scripts
Enter the path to the logoff script and add any parameters to pass to the logoff script. The order of the scripts can be modified.
Logoff PowerShell Scripts
Enter the path to the logoff script and add any parameters to pass to the logoff script. The order of the scripts can be modified.
INI Path
If Deploy GPO is checked, enter the location of the INI path file.
Configure user Group Policy loopback processing mode
If Deploy GPO is checked, you can check this option to enable the Group Policy loopback policy when the GPO is deployed.
Miscellaneous Settings
Enable Cloud Storage
This instructs the template wizard to make use of cloud storage.
Deploy ProfileDisk
This will instruct the template wizard to deploy a ProfileDisk configuration.
Multi-session ProfileDisk
This instructs the template wizard to enable a configuration with Multi-session ProfileDisk. With Multi-session ProfileDisk, a user can be logged into multiple sessions at the same time and have the same experience across sessions. However, it will be last writes wins down to the portability rule when using the built-in templates. Without portability, last write wins is for the entire ProfileDisk. Only VHDX ProfileDisks are supported; VHD formats are NOT supported for Multi-Session ProfileDisk.
Virtual Disk Path
If Deploy ProfileDisk is checked, enter the location of your virtual disk.
Size in GB
If Deploy ProfileDisk is checked, enter the maximum size of the virtual disk in gigabytes.
Disk Type
If Deploy ProfileDisk is checked, choose whether this disk will be Expandable or Fixed in size.
Deployment Path
If Deploy ProfileDisk is checked, enter the deployment location where the ProfileDisk configuration will be stored on your NETLOGON share.
Editing Template Settings
To make changes to a template, choose one from the Template List and click the ![]() (Edit) icon to the right of the template’s name. Any of the settings previously noted under Adding Configuration Templates can be modified.
(Edit) icon to the right of the template’s name. Any of the settings previously noted under Adding Configuration Templates can be modified.
Deleting Templates
To delete a configuration template, choose the template from the Template List and click the ![]() (Delete) icon to the right of the template’s name. You will be asked to confirm the deletion. Note that after the template is deleted, it cannot be recovered.
(Delete) icon to the right of the template’s name. You will be asked to confirm the deletion. Note that after the template is deleted, it cannot be recovered.
Exporting Templates
To export a particular configuration template, choose it from the Template list and click the ![]() (Download) icon to the right of the template’s name. Then choose the location where you would like to save the JSON template file.
(Download) icon to the right of the template’s name. Then choose the location where you would like to save the JSON template file.
Extracting Template Configuration Settings
To extract a template’s settings, choose it from the Template list and click the ![]() (Extract Configuration) icon to the right of the template’s name. This action extracts the configuration settings from the template and adds it to the list of configurations on the Configuration Management screen with all settings configured. Admins can easily extract template settings, quickly make changes in the configuration, and then add the edited configuration as a new template.
(Extract Configuration) icon to the right of the template’s name. This action extracts the configuration settings from the template and adds it to the list of configurations on the Configuration Management screen with all settings configured. Admins can easily extract template settings, quickly make changes in the configuration, and then add the edited configuration as a new template.