To initiate a remote assistance session using the Quick Assist option, complete the following steps:
-
If the end user's machine dashboard is not already displayed in CommandCTRL, search for their machine and then click its name to open the dashboard.
-
In the Current Session widget in the top right of the dashboard, locate the name of the person who is requesting help.
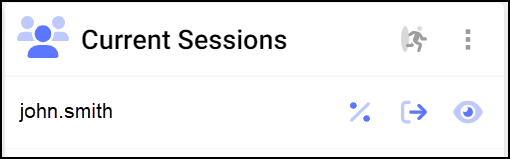
Note: If the machine is running Windows 10 Enterprise multi-session or other multi-session hosting software, it is possible that multiple user's names will appear in the Current Sessions field.
-
Click the
 (Remote) icon in the line belonging to the user.
 -
In the drop-down list that appears, select the Quick Assist option.
-
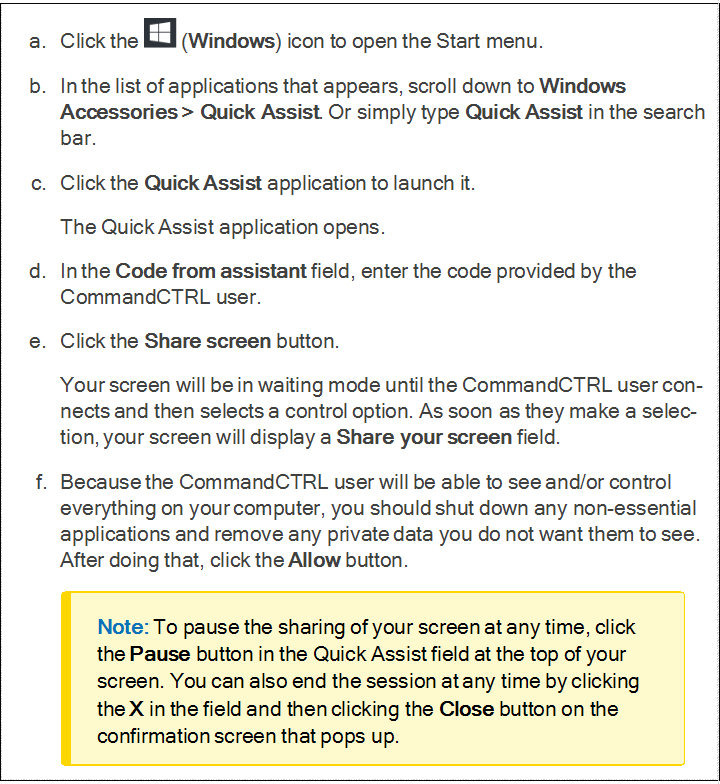
After a short delay, the assistant connects to the remote machine and a Quick Assist popup screen appears on your machine.
-
Click the Assist another person button at the bottom of the popup screen.
-
Copy the six-digit security code that appears.
-
-
As soon as the end user clicks the Share screen button in Step 8e above, a sharing option field appears on your machine. Choose from one of the two options, then click Continue.
-
Take full control—Take full control of the remote computer.
-
View screen —View the remote screen without having full control.
-
-
After the end user clicks Allow in Step 8f above, you are able to see their desktop and can either view or take control of their machine and help solve whatever issue they are dealing with.