Prerequisite: Before proceeding with the following steps, you must have bundled the FAOneTray-686.cmd script into an Intune Win32 package.
To deploy the FlexApp One Tray helper application, complete the following steps:
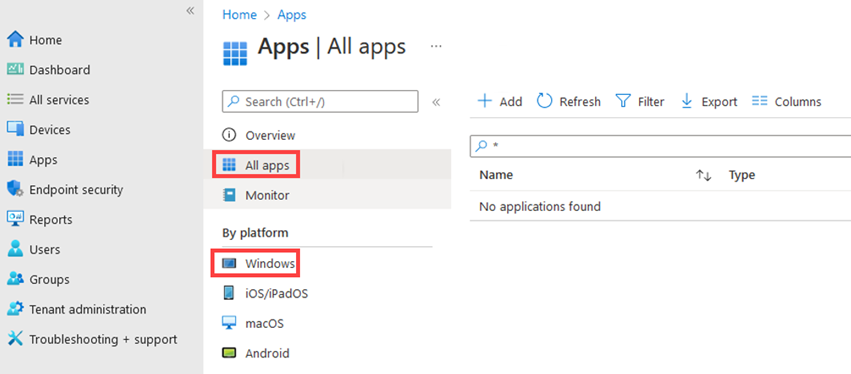
- Open Microsoft Intune admin center.
- In the left column, click the Apps option.
- In the Apps screen that opens, select All apps or Windows.
-
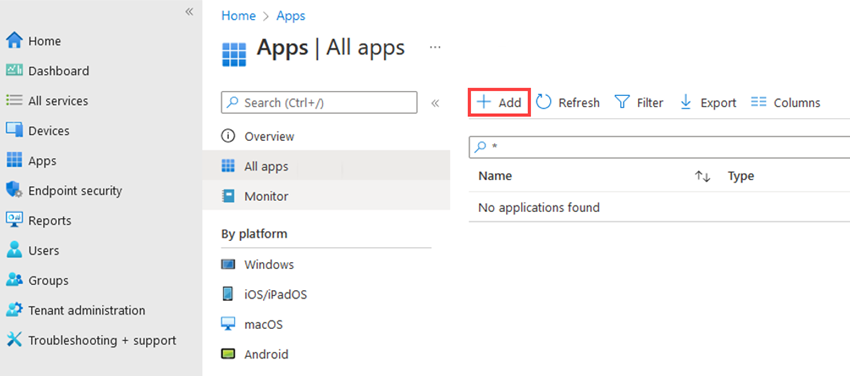
- In the field to the right of the All apps and Windows options, click the Add button.
-
- In the Select app type region that opens on the right, in the App type field, select Windows app (Win32).
-
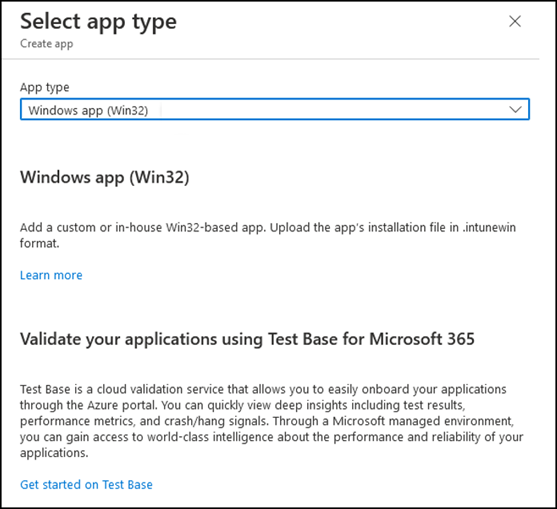
- Click the Select button at the bottom of the Select app type screen.
- The Add App wizard opens.
- Click the Select app package file link.
-

- The Add package file field opens.
- Click the folder icon, then navigate to your IntuneWin package, select it, and click the OK button.
App information Section
- In the App information section of the Add App screen, enter the following information:
- Name —For example,
FAOneTray-686 - Description
- Publisher
- Version —This should match the version of the file name
- Name —For example,
- In the Show this as a featured app in the Company Portal field, select Yes if you want this application to be shown in the featured app section at the top of the company portal.
-
Note: Selecting Yes in this field does not make the application automatically available in the company portal. To have it appear, you must choose to deploy the application via the portal in a subsequent step of this process.
- Select an image if you plan to publish the application via the company portal in a subsequent step of this process.
- Click the Next button to proceed to the Program section.
Program Section
- In the Program section of the Add App screen, enter the following text in the Install command field. It should be the same name as the bundled executable, which might also be the same name as the IntuneWin file with .exe as the extension instead of IntuneWin.
-
Copy
FAOneTray-686.cmd - Enter the following text in the Uninstall command field:
-
Copy
FAOneTray-686.cmd uninstall - In the Install behavior field, select the System option.
- Under normal circumstances, you will leave the rest of the options defaulted.
- Click the Next button to proceed to the Requirements section.
Requirements Section
- In the Requirements section of the Add App screen, enter the following information:
- Operating system architecture: 64-bit
- Minimum operating system requirement: Windows 10 1607
- Under normal circumstances, you should leave the rest of the options set to their default values.
- Click the Next button to proceed to the Detection rule section.
Detection rule Section
- In the Rules format field of the Detection rule section, select the Manually configure detection rules option.
- Click the Add link.
- Select the File option in the Rule type field.
- In the Path field, enter the following:
-
Copy
C:\ProgramData\Microsoft\Windows\Start Menu\Programs\FlexApp - In the File or folder field, enter the same name as the package file, but ending with
.lnkinstead ofIntunewin). This is not the shortcut the user sees on the desktop. This is the --addtostart shortcut to the FlexApp One binary which should be the same name as the FlexApp One you bundled into an IntuneWin with.lnkas the extension. FAOneTray-686.lnk- In the Detection method field, select the File or folder exists option.
- In the Associated with a 32-bit app on 64-bit clients field, under normal circumstances select the No option.
- Click the OK button.
- Back in the Detection rule section, click the Next button to proceed to the Dependencies section.
Dependencies Section
- Leave the fields blank.
- Click the Next button to proceed to the Supersedence section.
Supersedence Section
- In the Supersedence section of the Add App screen, under normal circumstances you should leave the fields blank.
- Click the Next button to proceed to the Assignments section.
Assignments Section
-
Note: The Client will have to choose to use required or available for enrolled devices. They can add a group like Sales and assign many apps to Sales, or they can add a device name, or you can add a per App group name. These instructions will use the per App group name for this process.
- In this step, you will force the application instead of allowing the user to choose the app from the Company Portal. To allow the customer to choose the application from the Company Portal, you must move the group from Required to Enable for Enrolled. In this example case, the result will look something like this:
-
Required (Pushed/Forced): (Comm) FAOneTray
-
Enable For Enrolled - On Demand/Company Portal: Nothing
-
Uninstall:(DeComm) FAOneTray
- In the Required section of the Add App screen, click the Add group link.
- On the Select groups screen that opens, filter your groups down to your commission control group by entering
(Comm)in the search field. - In the options list that appears, click to select your commission control group, which should have a name like (Comm) FAOneTray (Your FlexApp Group Name No Version or Extension).
- Click the Select button at the bottom of the Select groups screen.
- In the Uninstall section of the Add App screen, click the Add group link.
- On the Select groups screen that opens, filter your groups down to your decommission control group by entering
(DeComm)in the search field. - In the options list that appears, click to select your decommission control group, which should have a name like (DeComm) FAOneTray (Your FlexApp Group Name No Version or Extension).
- Click the Select button at the bottom of the Select groups screen.
- (Optional) To prevent notifications from showing on the client side, complete the following sub-steps:
- Click the End user notifications option.
- Click the Show all toast notifications option.
- In the End user notifications section, select the Hide all toast notifications option. This is an organizational preference and does not need to be set different from the default.
- Click the Next button to proceed to the Review + create section.
Review + create Section
- In the Review + create section of the Add App screen, review your settings then click Create.
- The FAOneTray-686.IntuneWin package is then uploaded to the cloud.